
Best Hand Planes for Beginners: Top Picks and Setup Tips
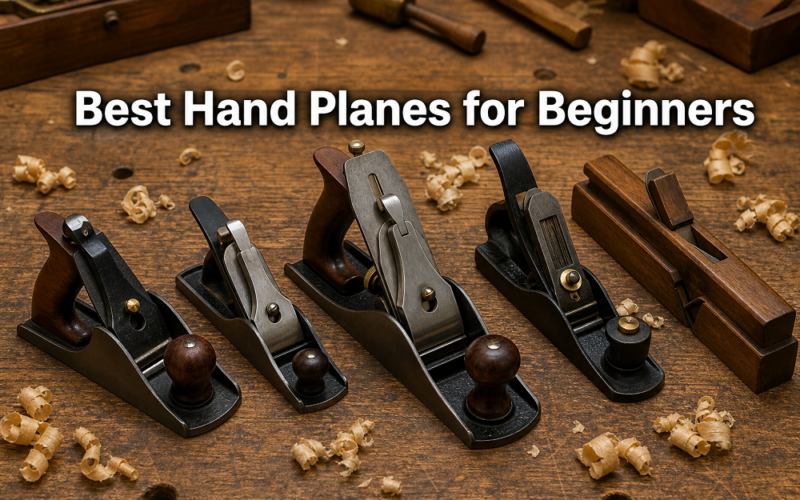
A hand plane is a cutting tool that uses a sharp, angled blade (called an iron or blade) held in a metal or wooden body to shave thin layers from a wood surface. You push the plane across the wood, and the blade slices a controlled shaving rather than sanding or abrading the fibers. The result is a surface that’s flatter, smoother, and more precise than almost any other method can produce.
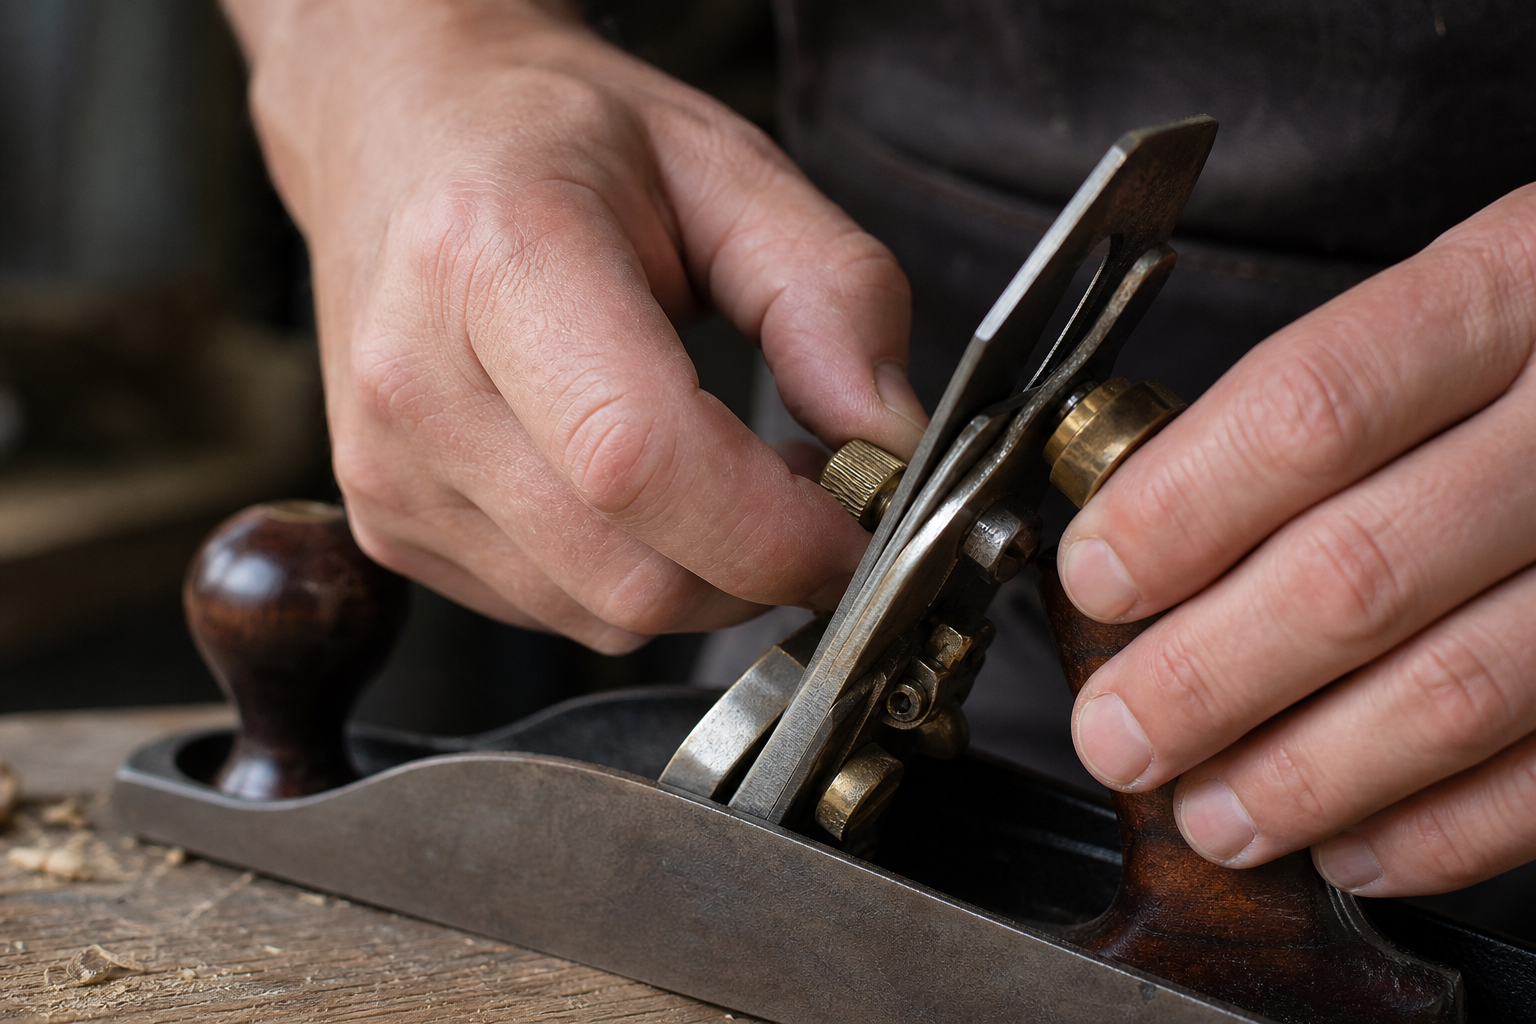
The mechanics are straightforward. The blade sits at a fixed angle inside the body, projecting slightly below the flat sole. A cap iron (or chip breaker) sits just behind the cutting edge and curls the shaving upward so it clears the throat opening. You control depth by adjusting how far the blade protrudes below the sole. Lateral adjustments keep the cut even from side to side.
What makes hand planes genuinely useful is their precision. A sander removes material randomly. A power planer removes it aggressively. A hand plane removes exactly as much as you set it to, in a controlled direction, with feedback you can feel in your hands. That’s why experienced woodworkers reach for a plane when fitting a door that’s just a hair too wide, or when a glued-up panel needs to be perfectly flat before finishing.
For beginners, the block plane is the most accessible and useful starting point, and good options exist well under $50.
The Stanley 12-220 block plane (around $25 to $35) is the most commonly recommended starter tool. It’s widely available, holds a decent edge, and is easy to tune. It won’t perform like a premium plane, but it will teach you everything you need to know about setup, sharpening, and technique.
The WEN 6530 block plane is another budget-friendly option in the $30 to $40 range that beginners find approachable.
If you’re willing to spend slightly more, the Lie-Nielsen No. 60-1/2 (around $155) and the Veritas Low-Angle Block Plane (around $135) are significantly better tools that will last a lifetime. They arrive better tuned and hold an edge longer. For a beginner who’s serious about the craft, spending a bit more upfront often saves frustration.
For bench planes under $50, options are limited. The Stanley Sweetheart No. 4 (a smoothing plane) occasionally appears in the $60 to $80 range on sale. Vintage Stanley and Record planes found at flea markets, estate sales, or online can be excellent values at $20 to $50, provided you’re willing to clean and tune them.
A useful overview of tools used for woodworking can help you understand where hand planes fit within a complete beginner’s toolkit.
A block plane is the best first hand plane for beginners because it’s small, one-handed, and built for the tasks that come up constantly in early woodworking. It handles end grain cleanly, eases sharp corners, trims small joints, and fits in one hand for controlled work on smaller pieces.
Its low blade angle (typically 12 to 20 degrees on low-angle models) is specifically designed for end grain, where higher-angle bench planes often struggle. When you’re fitting a box lid, trimming a tenon, or cleaning up the end of a board, a block plane is the right tool.
Key reasons to start here:
If you’re just getting started and exploring beginner woodworking, a block plane will be one of the most-used tools in your shop within the first month.
A jack plane is the right second hand plane for beginners who are starting to work with larger boards and glued-up panels. At roughly 14 inches long, it bridges the gap between a short block plane and a long jointer plane, making it the most versatile bench plane for general surface work.
Use a jack plane when you need to:
A jack plane is a two-handed tool and takes more practice than a block plane. The longer sole helps it bridge low spots in a surface, which is what makes it effective for flattening. It’s not a finishing tool; it leaves a surface that still needs a smoothing plane or fine sanding before finish is applied.
Common jack plane models worth considering include the Stanley No. 5 (widely available vintage and new), the WoodRiver No. 5, and the Veritas Jack Plane for those ready to invest in a premium tool.
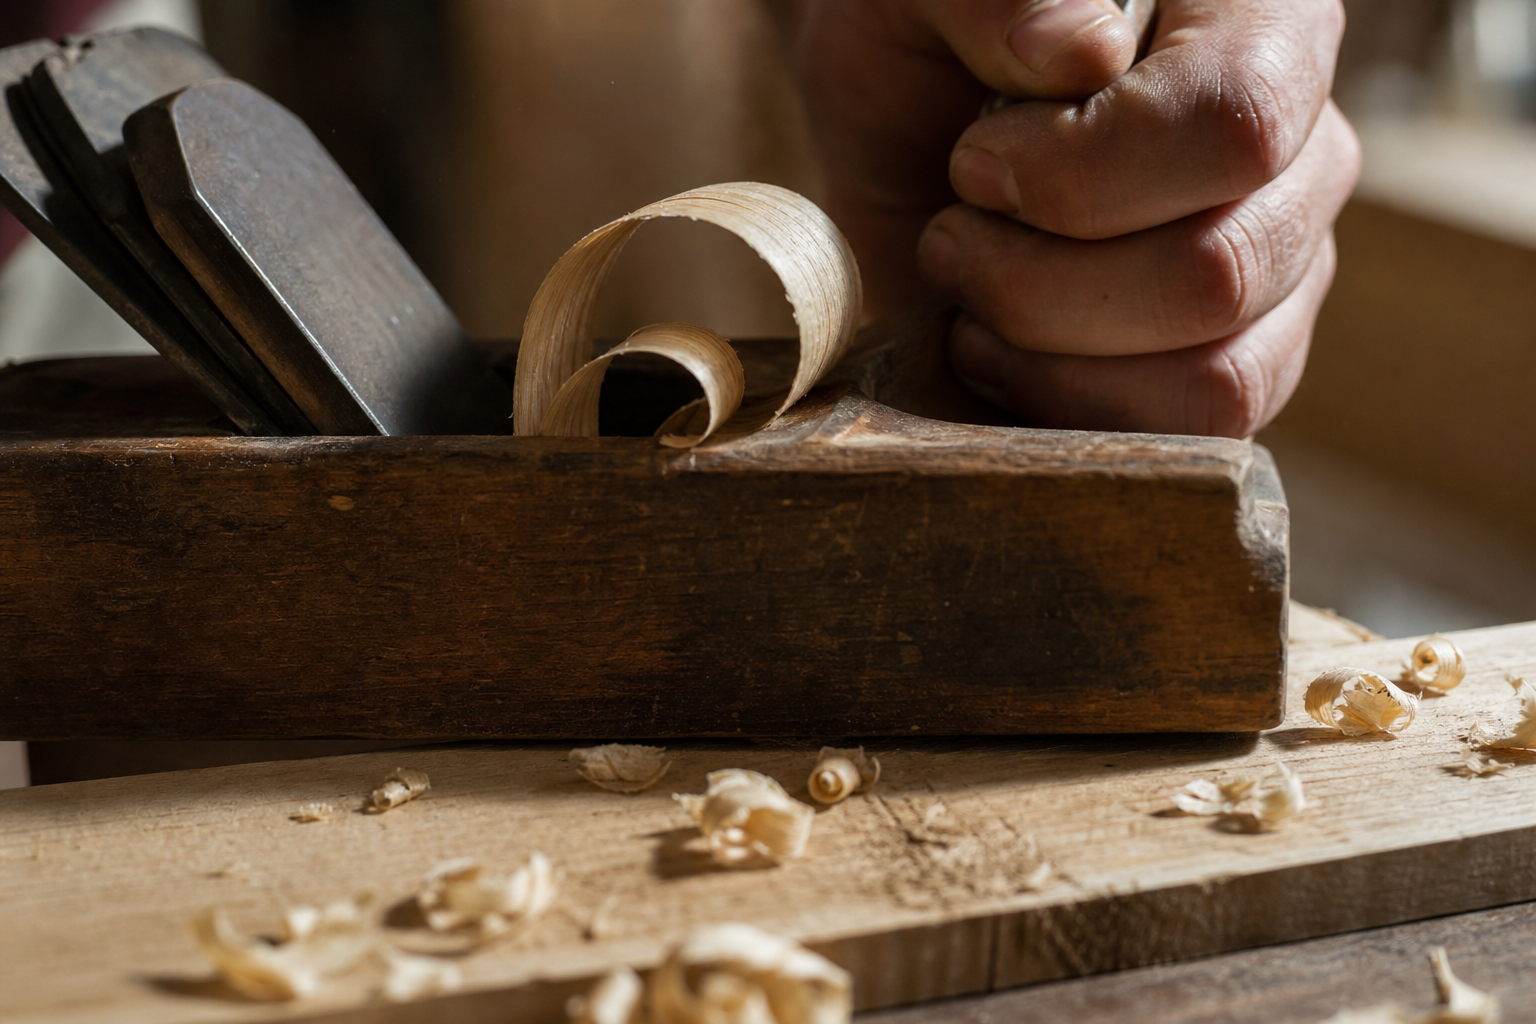
A smoothing plane is designed for one job: the final pass on a surface before applying finish. At 9 to 10 inches long, it’s shorter than a jack plane, which lets it follow the surface closely and remove the last fine imperfections without bridging them.
A properly tuned smoothing plane set to a gossamer-thin shaving can leave a surface that genuinely doesn’t need sanding. The wood fibers are sliced cleanly rather than abraded, which means the surface accepts stain and finish more evenly and shows the grain more clearly.
This is not a beginner’s first purchase. It’s a tool worth adding once you’re building furniture-grade pieces and surface quality actually shows in the finished work. If you’re exploring popular woodworking projects like tables, cabinets, or shelving, a smoothing plane eventually becomes one of the most satisfying tools you own.
The Stanley No. 4 is the classic entry point. The Lie-Nielsen No. 4 and Veritas Bevel-Up Smoother are premium options that reward the investment once your technique is solid.
Setting up a hand plane correctly before first use is not optional. Most new planes, even quality ones, arrive with a blade that isn’t sharp enough for clean work and a sole that may not be perfectly flat. Skipping setup is the most common reason beginners decide hand planes “don’t work.”
Follow this sequence before your first real use:
For deeper guidance on woodworking tools and equipment, including setup and maintenance, that resource covers the full range of hand and power tools in one place.
Sharpening is the single most important skill for hand plane users. A sharp blade makes the difference between a plane that glides and one that chatters, tears, and frustrates.
Sharpening basics:
Ongoing maintenance:
A hand plane blade dulls faster than a chisel because it’s in constant contact with wood across its full width. Building a sharpening habit early makes every session more productive.
Here’s a practical guide:
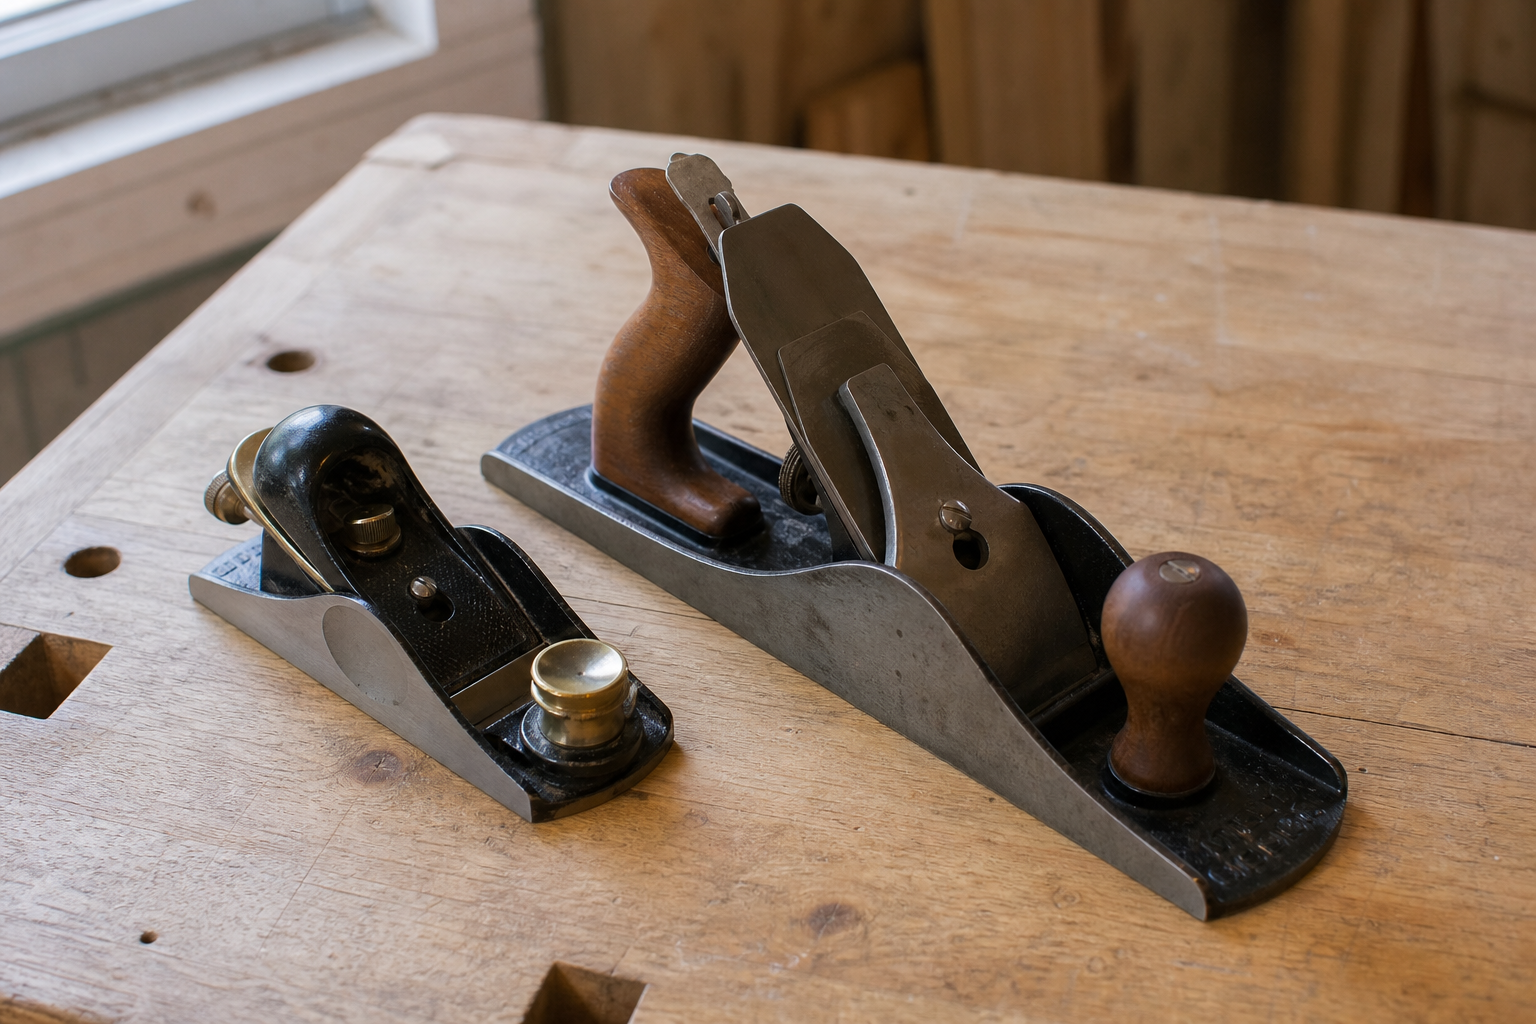
For beginners, a block plane covers most needs. Add a No. 5 jack plane for panel work. The No. 7 or No. 8 jointer planes are specialist tools most beginners won’t need until they’re building furniture with long, precision-fitted edges.
A hand plane and a power planer are different tools that solve different problems. Neither replaces the other.
A power planer (or thickness planer) removes material quickly and consistently across wide boards. It’s excellent for dimensioning rough lumber to a consistent thickness. It’s fast, repeatable, and requires less skill to operate. However, it can’t fit a door, trim end grain, or leave a finish-ready surface.
A hand plane gives you precision and control that no power tool matches. It can remove a single shaving from one corner of a board, fit a joint to a perfect snug close, or leave a surface so smooth it doesn’t need sanding. It’s quieter, produces shavings instead of dust, and works in spaces where a power tool would be impractical.
Choose a power planer if:
Choose a hand plane if:
Most woodworkers use both. If you’re building indoor furniture from dimensioned lumber, a hand plane alone is often all you need for surface prep and fitting work.
The most common mistake is using a new plane straight out of the box without tuning it. The second most common is giving up after a bad first experience that was caused entirely by that first mistake.
Other frequent errors:
Understanding these pitfalls early saves hours of frustration. Pairing hand plane practice with broader woodworking technique and joinery skills will accelerate your progress significantly.
Grain direction is one of the most important variables in hand planing, and it’s something beginners often overlook until they get a board full of tearout.
The rule: plane in the direction the grain rises toward the surface, not against it. Think of it like stroking a cat’s fur. Go with the grain and the surface stays smooth. Go against it and the fibers lift and tear.
How to read grain direction:
Some boards have interlocked or wild grain that tears no matter which direction you plane. For these, a tightly set cap iron, a very sharp blade, and a steeper blade angle (a bevel-up plane set to 50 degrees or higher) can help. Alternatively, a card scraper or fine sandpaper may be the better finishing option for truly difficult grain.
Different wood types and material selections also affect how a plane behaves. Softwoods like pine plane easily but dent and compress under the plane. Hardwoods like oak and maple require a sharper blade and more consistent technique.
Yes, hand planes work on virtually all wood species, but technique and setup need to match the material.
Softwoods (pine, cedar, fir): Plane easily with moderate sharpness. The risk is compressing fibers rather than cutting them if the blade is even slightly dull. Take light passes.
Hardwoods (oak, maple, walnut, cherry): Require a sharper blade and more deliberate technique. Grain direction matters more because tearout is harder to sand out of dense hardwoods.
End grain (any species): Use a block plane with a low blade angle. Keep the blade extremely sharp. A drop of water on the end grain before planing can help the blade glide more cleanly.
Figured or exotic woods: Highly figured grain (bird’s eye maple, curly walnut) tears unpredictably. Use a high blade angle, a very sharp edge, and consider a bevel-up plane where you can increase the effective cutting angle easily.
Plywood and MDF: Not ideal for hand planes. The glue layers in plywood dull blades quickly. MDF is abrasive and will destroy a blade edge in minutes.
If you’re not ready to invest in a hand plane or need a solution for a specific small task, a few alternatives are worth knowing.
None of these replace a well-tuned hand plane for fitting and surface work, but they’re practical alternatives when a plane isn’t the right tool for the job or isn’t yet in your kit.
A hand plane is worth learning for any woodworker who builds furniture, fits joinery, or cares about surface quality. Power tools handle bulk material removal efficiently, but they cannot do what a hand plane does: precise, controlled, quiet, dust-free surface work with immediate tactile feedback.
The case for learning hand planes:
The honest caveat: there’s a learning curve. The first few sessions will feel awkward. Setup takes time. Sharpening is a skill in itself. But the curve is not steep. Most beginners are taking clean, controlled shavings within two or three focused practice sessions.
If you’re serious about building your woodworking skills beyond basic power tool use, hand planes are one of the highest-return skills you can develop.
Most beginners can take clean, consistent shavings within one or two practice sessions, assuming the plane is properly tuned and sharp. Getting comfortable with setup, sharpening, and reading grain takes a few weeks of regular use. Developing real fluency, where you can flatten a panel or fit a joint confidently, typically takes two to three months of consistent practice on real projects.
The skill curve breaks down roughly like this:
The biggest variable is practice frequency. Someone who uses a hand plane on every project will progress much faster than someone who picks it up occasionally. Consistent, deliberate practice on actual projects accelerates learning faster than any drill.
For furniture making specifically, the combination of a block plane, a No. 5 jack plane, and a No. 4 smoothing plane covers nearly every surface and fitting task you’ll encounter.
Recommended tools by budget:
Entry level (under $150 total):
Mid-range ($300 to $500 total):
Premium (invest once, use forever):
The premium tools arrive better tuned, hold an edge longer, and have tighter tolerances. For a beginner, the entry-level or mid-range options are perfectly capable of producing excellent work once properly set up. The premium tools become more meaningful as your technique improves and you notice the difference.
If you’re building furniture from plans, a solid set of woodworking plans paired with the right hand planes will take your finished work to a noticeably higher level.
Start with a block plane. It’s the most affordable of the three core planes, the most broadly useful for a beginner’s actual project needs, and the easiest to learn to tune and use well in a single afternoon. A decent block plane in the $30 to $40 range will handle the majority of tasks you encounter in the first year of woodworking.
Add a No. 5 jack plane once you’re gluing up panels or working with larger boards regularly. Add a smoothing plane once fine surface quality starts to matter for the furniture you’re building.
That sequence keeps your investment modest, builds your skill progressively, and ensures every tool you buy gets used immediately rather than sitting on a shelf waiting for a project that justifies it.
Hand planes are not complicated tools, but they do reward the beginner who takes the time to understand them. A well-tuned block plane, a sharp blade, and a basic understanding of grain direction will solve problems that no power tool can. The setup takes an hour. The skill develops over a few sessions. The results are immediately visible in the quality of your work.
Start with a block plane. Learn to sharpen it. Use it on real projects. The rest follows naturally.
Recommended starter tools:
The Stanley 12-220 block plane is the most accessible entry point for beginners. It’s widely available at hardware stores and online, holds a reasonable edge, and teaches you everything you need to know about setup and technique. For a step up in quality without a major investment, the WoodRiver No. 60-1/2 low-angle block plane is a well-regarded mid-range option.
For sharpening, a basic honing guide (the Eclipse-style guide costs around $15) paired with a set of Norton waterstone combination stones (220/1000 and 4000/8000 grits) gives you everything needed to sharpen a hand plane blade properly. Add a leather strop with honing compound for the final polish.
A granite surface plate or a piece of flat glass makes flattening the sole straightforward. Both are inexpensive and available at hardware stores or online.
Useful resources for continued learning:
The best way to get good with a hand plane is to use one on something you’re actually building. Pick a project, tune the plane, and start making shavings.
Key Takeaways

What Is a Hand Plane and How Does It Work?
What Are the Best Hand Planes for Beginners Under $50?
Block Plane: The Right First Purchase
Jack Plane: The Workhorse for Bigger Surfaces
Smoothing Plane: The Finishing Tool
How to Set Up a Hand Plane Correctly
How to Sharpen and Maintain a Hand Plane
What Size Hand Plane Do I Need for Woodworking?
Plane Type
Length
Best Use
Block Plane
6 inches
End grain, edge easing, small trimming work
No. 4 Smoothing Plane
9-10 inches
Final surface smoothing on panels and boards
No. 5 Jack Plane
14 inches
Flattening larger surfaces, general stock prep
No. 7 Jointer Plane
22 inches
Flattening and straightening long board edges
No. 8 Jointer Plane
24 inches
Largest general-purpose jointing work
Hand Plane vs Power Planer: Which Should You Use?
Common Mistakes Beginners Make With Hand Planes
What Wood Grain Direction Matters for Hand Planing?
Can You Use a Hand Plane on Different Types of Wood?
Hand Plane Alternatives for Small Projects
Is a Hand Plane Worth Learning, or Should I Just Use Power Tools?
How Long Does It Take to Get Good at Using a Hand Plane?
Hand Plane Recommendations for Furniture Making
Which Hand Plane Should You Buy First?
Conclusion
Products, Tools, and Resources