Beginner Woodworking Tools & Equipment: What You Need and Why
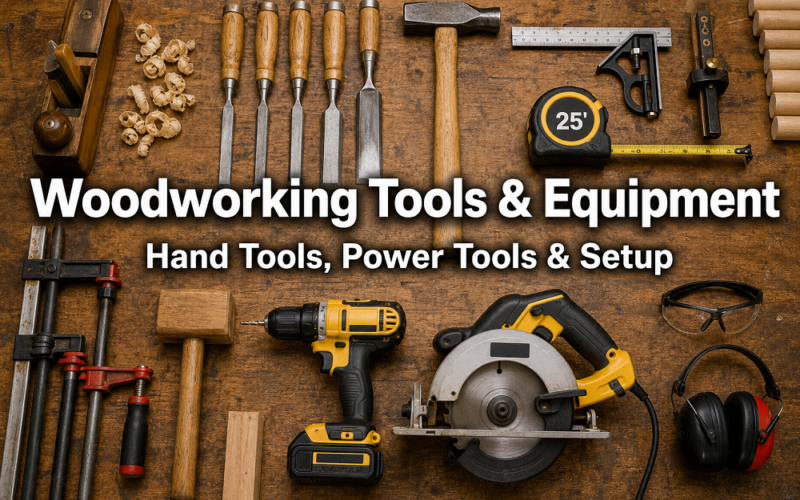
Hey there! Some links on this page may be affiliate links, which means that if you choose to make a purchase, I may earn a commission at no extra cost to you. I greatly appreciate your support! The woodworking tools & equipment a beginner actually needs are simpler than most YouTube rabbit holes suggest: a tape measure, combination square, marking gauge, a set of chisels, a hand saw, a circular saw, and at least four clamps. Build that foundation first, then add power tools as specific projects demand them. Buying in the wrong order is the most common and most expensive mistake new woodworkers make.
Every beginner needs tools that cover four functions: measuring, marking, cutting, and holding. Everything else is a specialty purchase you earn your way into by building actual projects.
Here is the minimum viable kit, in priority order:
Measuring and marking (buy these first):
Hand tools (buy these second):
First power tool (buy this third):
Clamps (buy more than you think you need):
If you want a broader overview of various tools used for woodworking before committing to a purchase sequence, that resource covers the full landscape without the sales pressure.
A functional beginner kit costs between $300 and $600 if you buy thoughtfully. That range covers quality measuring tools, a decent chisel set, a hand saw, a mid-grade circular saw, and enough clamps to actually build something.
The mistake most beginners make is not spending too little. It is spending the right amount in the wrong places. A $15 combination square that reads inaccurately will ruin every project you build with it, while a $40 Starrett or Empire square will last decades. Spend on precision tools. Save on things like mallets, pencils, and basic clamps where budget options perform nearly identically.
Rough budget breakdown for a starter kit:
Total: roughly $305 to $560, depending on brand choices.
Do not buy a full power tool suite upfront. A beginner who owns a table saw, miter saw, router, and planer but has never finished a single project has spent $2,000 on equipment that teaches nothing. Projects teach you which tools you actually need next.
Neither is better. They solve different problems, and the best woodworkers use both fluidly. That said, hand tools deserve more credit than most beginners give them, especially early on.
Hand tools teach you to read wood grain, feel resistance, and understand why a joint fits or does not. Power tools can hide those lessons behind speed and noise. A beginner who learns to pare a mortise with a sharp chisel before they ever touch a router table will make better joints on the router table because they understand what a clean wall looks like.
Choose hand tools when:
Choose power tools when:
For beginners building their first few woodworking projects, a hybrid approach works best: hand tools for layout and fitting, a circular saw for breaking down sheet goods, and clamps for everything else.
A table saw is worth it once you are building furniture regularly and making repetitive rip cuts that demand consistent accuracy. For most beginners, it is not the right first purchase.
Here is the honest comparison:
A compact jobsite table saw (models like the DeWalt DWE7485 or Bosch GTS1041A) is a reasonable middle ground for a home shop with limited space. It delivers table saw accuracy without requiring a dedicated 40-square-foot footprint.
If you are building furniture regularly and want to explore plans that make full use of a table saw’s accuracy, popular woodworking plans are a good place to see what that kind of precision enables.
A chop saw and a miter saw are often used interchangeably in conversation, but they are not the same tool. A chop saw makes straight 90-degree cuts only. A miter saw rotates on a horizontal axis to cut precise angles (miters) and, on compound models, bevels as well.
For woodworking, a miter saw is almost always the right choice. Chop saws are primarily metalworking tools designed to cut steel and pipe. They use abrasive blades rather than carbide-tipped wood blades and are not designed for the fine, clean cuts furniture and trim work require.
Types of miter saws:
For most home woodworkers, a 10-inch sliding compound miter saw covers every crosscut and angle cut they will encounter. A 12-inch version handles wider stock but costs more and takes up more bench space.
Circular saw binding is one of the most common beginner frustrations, and it almost always has a fixable cause. Binding happens when the kerf (the slot the blade cuts) closes around the blade, pinching it.
The most common causes:
If your saw binds and stalls, do not force it backward. Release the trigger, let the blade stop completely, then back it out carefully.
A track saw (also called a plunge-cut saw) deserves special mention for small shops. Paired with a straightedge guide, it delivers table-saw-quality rip cuts on sheet goods without any permanent floor space. Festool and Makita make well-regarded options, though the Makita SP6000J1 offers strong performance at a more accessible price point.
For dust management in a small space, a shop vac with a fine-dust separator is the minimum. Fine sawdust settles on every surface and poses real respiratory risks with repeated exposure.
Exploring woodworking machinery options designed for compact setups can help you identify which benchtop versions of larger tools fit your space without sacrificing too much capability.
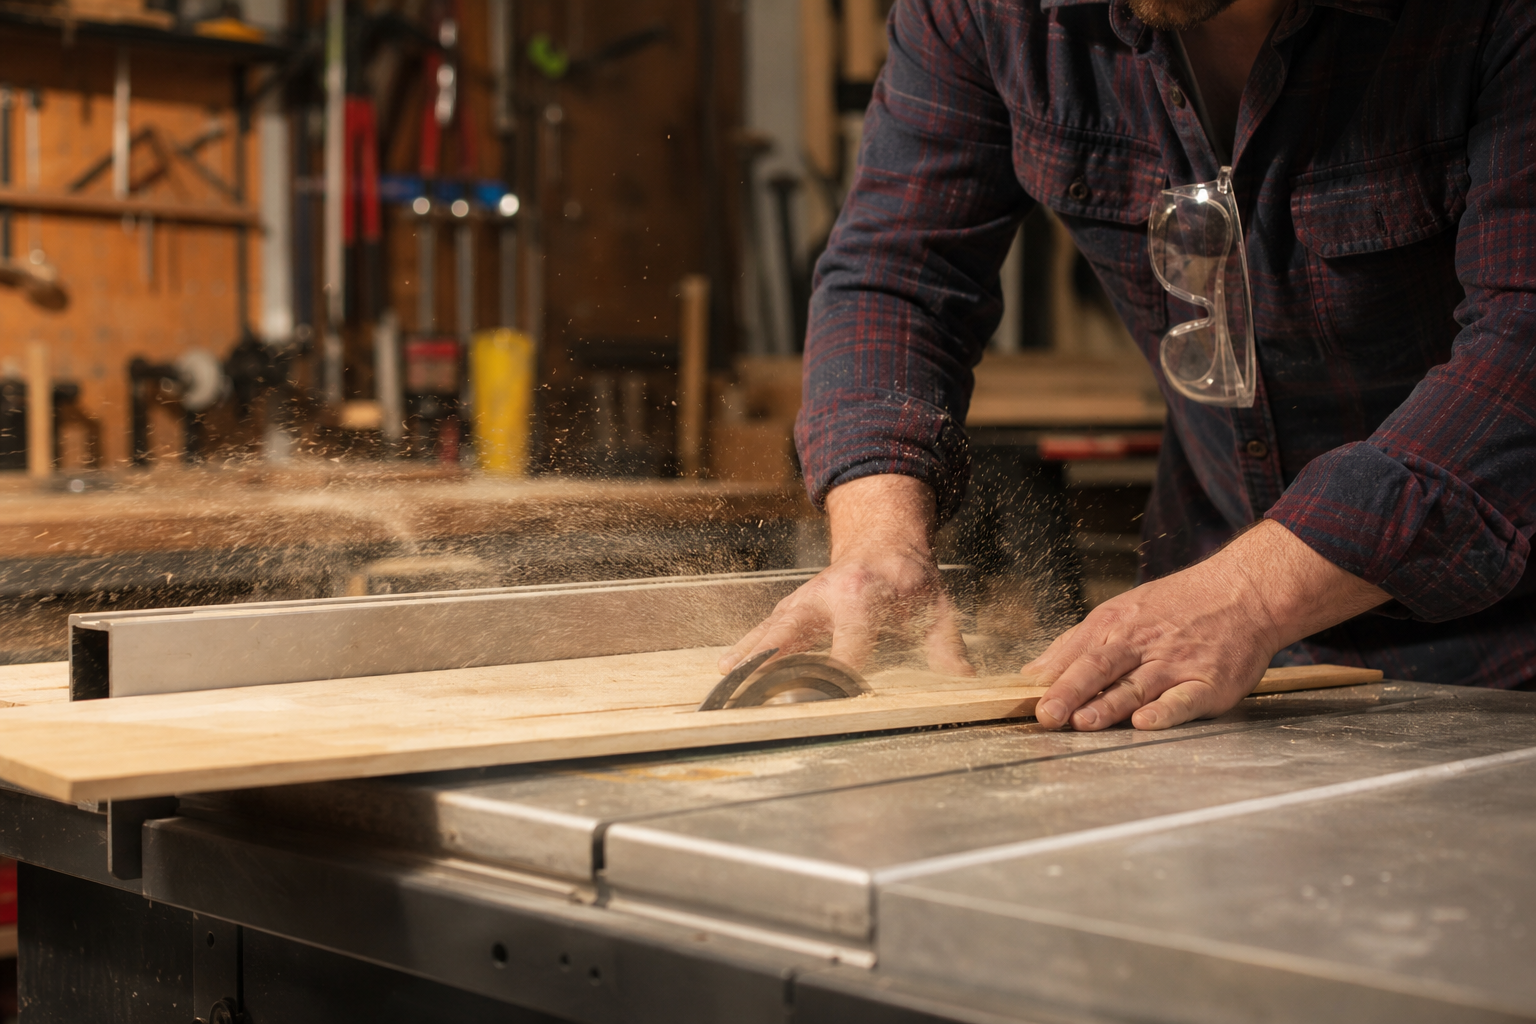
The safety gear woodworkers need is straightforward, inexpensive relative to the tools themselves, and consistently skipped by beginners who regret it later.
Non-negotiable safety equipment:
Useful but situational:
The single most impactful safety habit at the table saw is understanding and preventing kickback. Kickback happens when the blade catches the wood and throws it back toward the operator at high speed. A properly adjusted riving knife (the curved piece of metal directly behind the blade) reduces kickback dramatically by keeping the kerf open. Never remove it.
Budget tools are fine to start with. Professional-grade tools are worth the investment once you know exactly how you use a specific tool and how often. The mistake is buying professional-grade tools before you have enough experience to feel the difference.
A practical decision framework:
One concrete example: a $35 set of chisels from a hardware store will work for a beginner learning to pare joints. Once you understand what a properly sharp, well-balanced chisel feels like in use, the upgrade to a set of Lie-Nielsen or Pfeil chisels ($150 to $250) becomes a meaningful improvement rather than an aspirational purchase.
Most beginner mistakes are not about choosing the wrong tool. They are about using the right tool incorrectly or skipping the preparation steps that make tools perform well.
The most common mistakes, and how to avoid them:
For most beginners, a cordless drill is essential and a drill press is optional but genuinely useful once you are building furniture with precision hole placement. They are not interchangeable tools.
A cordless drill drives screws, bores holes for hardware, and handles the majority of drilling tasks in a home shop. A 20V brushless model from DeWalt, Milwaukee, or Makita covers nearly everything a hobbyist needs.
A drill press adds two things a handheld drill cannot reliably deliver: perfectly perpendicular holes and repeatable depth stops. For mortise-and-tenon joinery, dowel alignment, or any task where hole angle matters, a drill press produces noticeably better results.
Choose a drill press if:
A benchtop drill press (12-inch swing, variable speed) costs between $150 and $300 and takes up minimal bench space. It is a reasonable second or third power tool purchase once you have established a building practice.
For more on how jigs and precision tools work together, woodworking jigs are worth exploring as your skill level grows.
Professional woodworkers use a surprisingly consistent core set of tools regardless of their specialty. The difference between a professional shop and a hobbyist shop is less about which tools are present and more about how precisely they are tuned and how consistently they are maintained.
The tools professionals reach for most:
The jointer and planer combination is the most significant gap between a hobbyist shop and a professional one. Milling your own rough lumber dramatically expands material options and reduces cost per board foot over time. It also teaches you to read wood in ways that buying pre-dimensioned lumber from a home center does not.
If you are considering running a woodworking business from your shop, the jointer and planer investment pays back quickly in material savings and finished quality.
Sharp hand tools perform better, require less force, and cause fewer injuries than dull ones. Maintenance is not optional. It is the skill that separates a functional hand tool from a frustrating one.
Basic sharpening process for chisels and plane irons:
Maintenance schedule to follow:
A good sharpening setup does not need to be expensive. A two-sided waterstone (1000/6000 grit) from King or Shapton costs $30 to $60 and handles 90 percent of sharpening tasks in a home shop.
Woodworking is genuinely accessible for people with arthritis or reduced grip strength, but it requires deliberate tool selection. The goal is reducing the force required for each task, not avoiding the craft.
Tool adaptations and choices that help:
The Arthritis Foundation notes that tool grip and vibration are two of the primary factors in joint stress during repetitive tasks. Reducing both through tool selection and workholding is a practical, effective approach.
What is the very first tool a beginner woodworker should buy? Can I learn woodworking with just hand tools? How many clamps do I actually need? Is a cordless circular saw as good as a corded one? What is the difference between a jointer and a planer? Do I need special blades for different types of wood? How do I know when a saw blade needs replacing? Is dust collection really necessary for a home shop? What is the safest way to learn power tool operation? Can I do serious woodworking in a one-car garage? The path through woodworking tools is not about accumulating equipment. It is about building a kit that matches where you actually are in your skill development, then expanding it as specific projects create specific needs. A beginner with a sharp chisel, a reliable circular saw, eight clamps, and accurate marking tools can build furniture that would embarrass a poorly equipped shop full of expensive machinery.
Start with precision. Add power tools as projects demand them. Maintain what you own before buying something new. And spend serious money on the things that touch the wood directly: blades, chisels, and measuring tools. Those investments pay back on every single project you build.
These are tools and resources worth knowing about, based on what actually performs well at each price point for hobbyist woodworkers:
Measuring and marking: The Empire 4003 combination square ($35 to $45) is the best value at its price. The Starrett C33H-12 is the upgrade worth making once you are building furniture seriously.
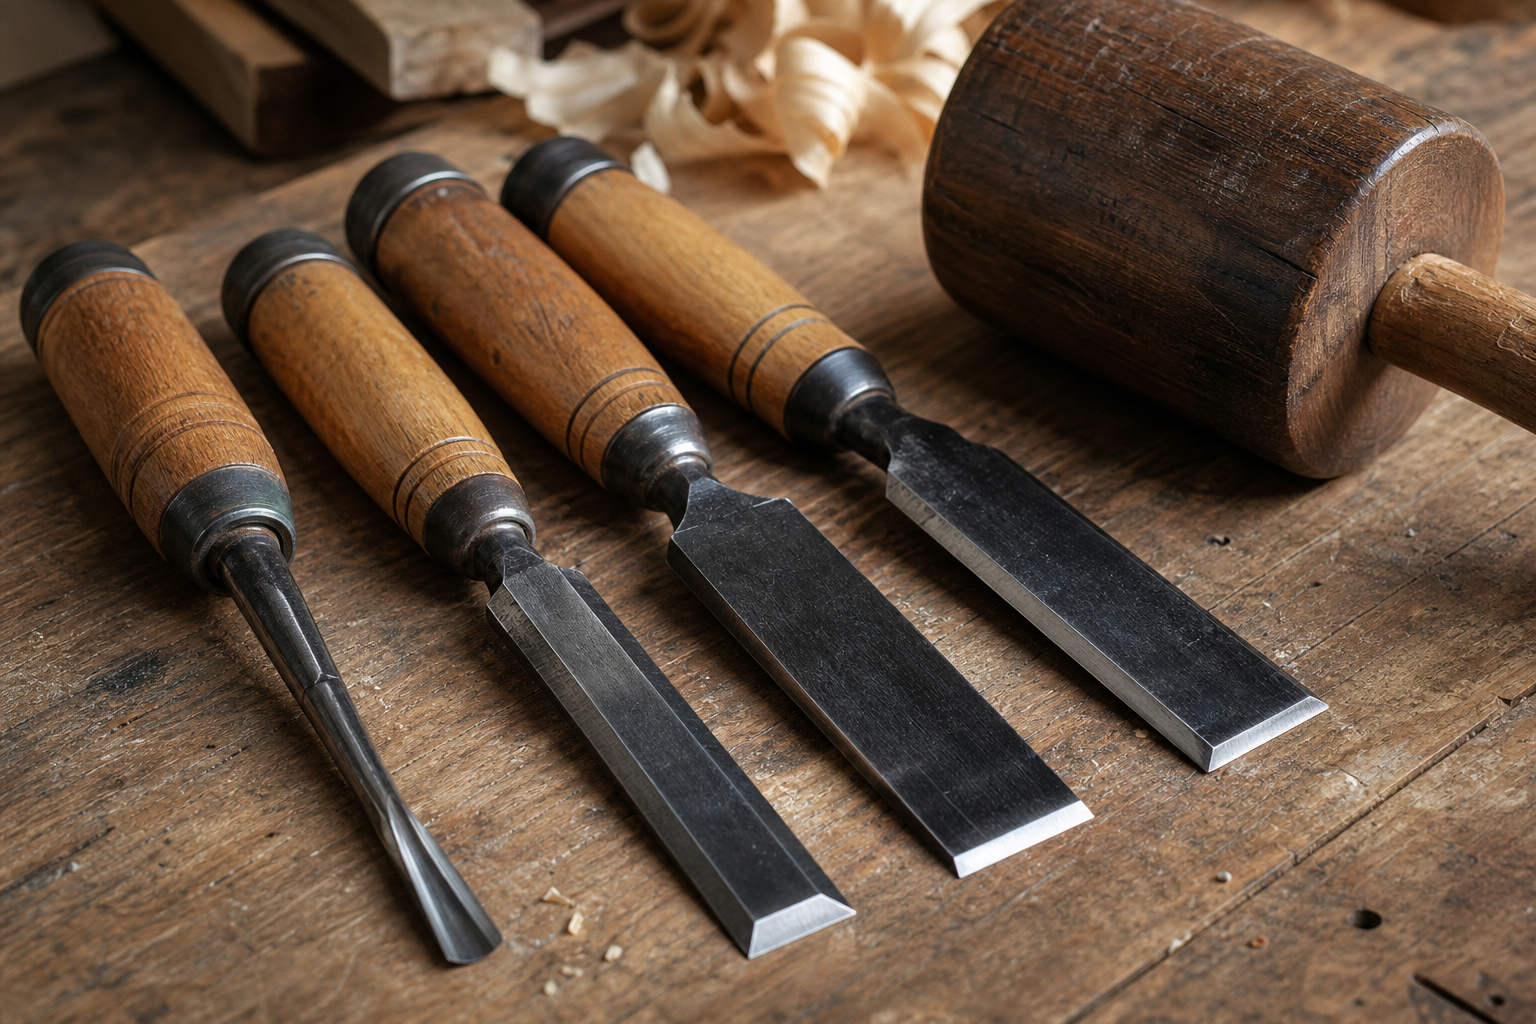
Chisels: Narex bench chisels ($60 to $80 for a four-piece set) are the best entry point. Two Cherries and Pfeil are worth the upgrade once you have learned to sharpen properly.
Circular saw: The Makita 5007MG (corded, 7-1/4 inch) is a durable, accurate saw at a fair price. The DeWalt DCS575T1 is the cordless equivalent for those who prefer battery-powered tools.
Table saw (compact): The DeWalt DWE7485 jobsite table saw offers solid fence accuracy in a portable package. The Bosch GTS1041A adds a gravity-rise stand that makes setup and storage genuinely easier.
Sharpening: A King KW-65 1000/6000 combination waterstone ($30 to $40) handles most sharpening tasks. The Veritas Mk.II honing guide ($45) removes the guesswork on bevel angle for beginners.
Dust collection: The Oneida Dust Deputy cyclone separator paired with a standard shop vac is an inexpensive and effective two-stage solution for small shops. The Harbor Freight 2 HP dust collector (with a bag upgrade to a 1-micron filter) is a budget-friendly dedicated unit.
Learning resources: For structured skill-building beyond tool selection, woodworking online training and beginner woodworking project guides are practical next steps that connect tool knowledge to actual making.
Key Takeaways

What Woodworking Tools Do You Actually Need as a Beginner?
How Much Should You Spend on Your First Woodworking Tool Set?
Hand Tools vs. Power Tools for Woodworking: Which Is Better?
Is a Table Saw Worth It for a Home Workshop?
Feature
Circular Saw
Table Saw
Upfront cost
$100 to $200
$400 to $900+
Floor space required
None (handheld)
20 to 40 sq ft minimum
Portability
High
Low to none
Repeatable rip accuracy
Moderate (with a guide)
High
Sheet goods handling
Good
Good (with outfeed support)
Best for
Beginners, small shops
Furniture builders, regular use
What Is the Difference Between a Chop Saw and a Miter Saw?
Why Is My Circular Saw Binding Up in the Wood?
Best Woodworking Tools for Small Spaces and Apartments
What Safety Gear Do Woodworkers Actually Need?
How to Choose Between Budget and Professional-Grade Tools
Common Woodworking Tool Mistakes Beginners Make
Do You Need Both a Drill and a Drill Press?
What Tools Do Professional Woodworkers Use Most Often?
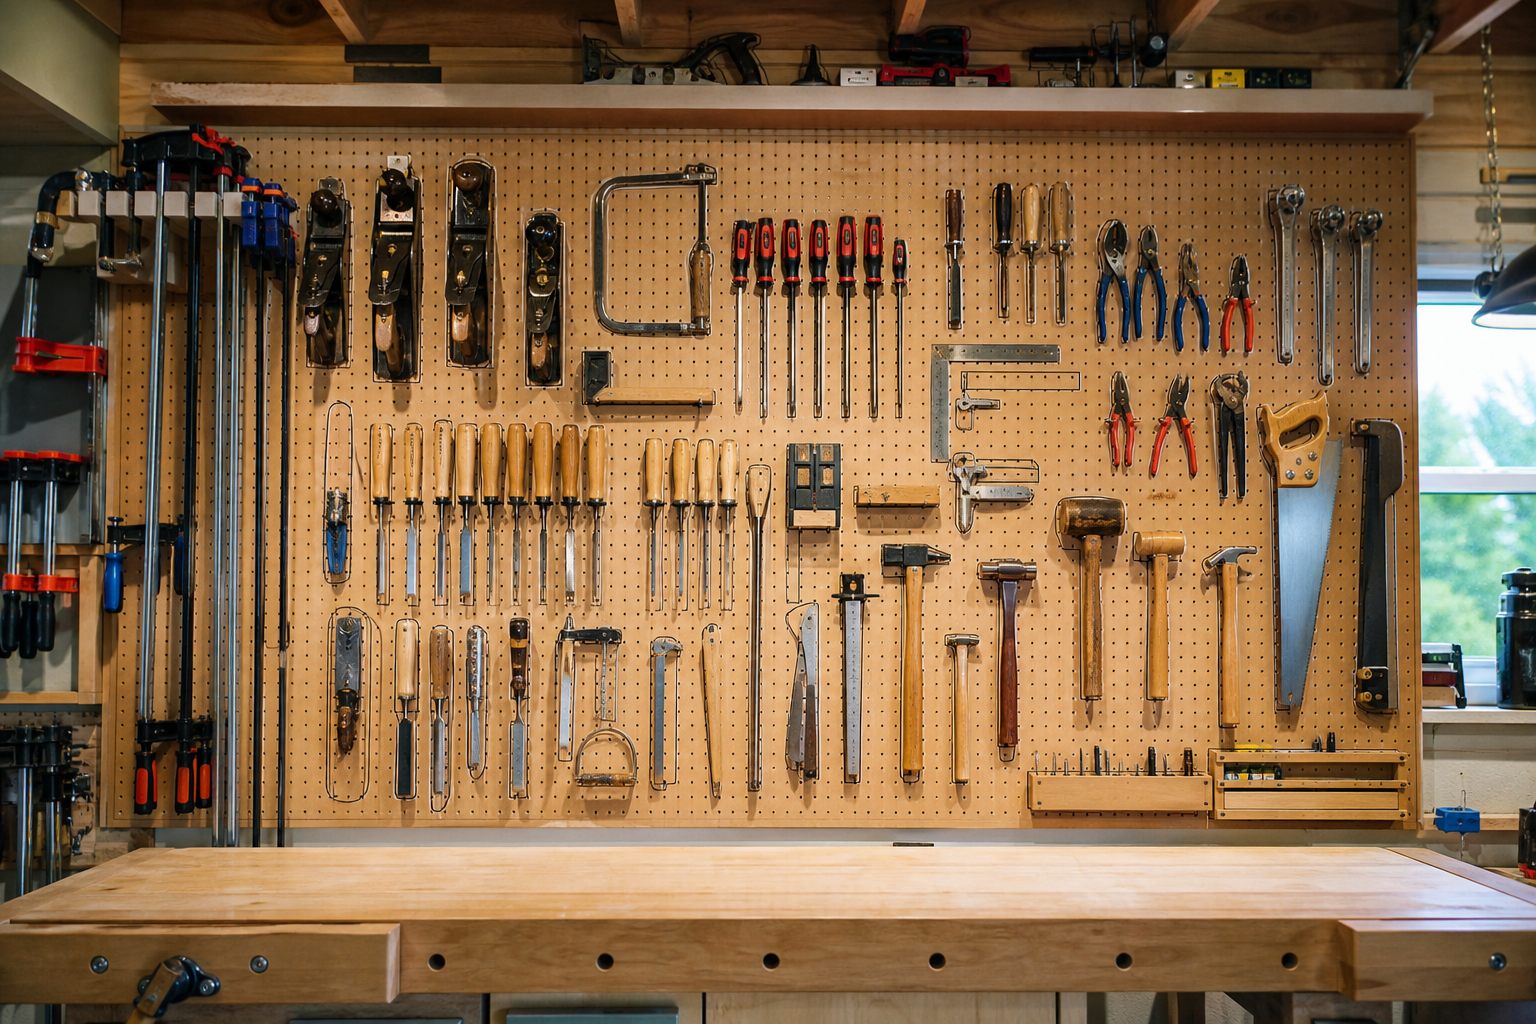
How to Maintain and Sharpen Woodworking Hand Tools
Woodworking Tools for Someone With Arthritis or Weak Grip
Frequently Asked Questions
A combination square. Before you cut anything, you need to measure and mark accurately. A quality combination square (Empire or Starrett) costs $20 to $45 and is the foundation every other tool decision depends on. An inaccurate square makes every project harder to fix.
Yes, and many experienced woodworkers recommend it. Hand tools teach grain reading, joint fitting, and material feel that power tools can skip over. A beginner who starts with hand tools typically develops better judgment about when power tools are actually necessary.
More than you think. Start with eight: four 24-inch bar clamps and four medium F-clamps. Most woodworkers say the same thing: whatever number you have, you will wish you had two more. Clamps are worth buying gradually over time rather than all at once.
For most beginner and hobbyist tasks, yes. Modern 20V brushless cordless circular saws from DeWalt, Milwaukee, and Makita deliver performance close enough to corded models that the difference is not practically meaningful for occasional use. For extended continuous cutting (a full day of framing or sheet goods processing), corded still wins on sustained power.
A jointer flattens one face and one edge of a board. A planer makes the opposite face parallel to the first. You need both to mill rough lumber into flat, square stock. They are used in sequence: jointer first, then planer. Most hobbyists add these tools after they have been building for a year or two and want to work with rough-sawn lumber.
The main distinction is between ripping (cutting along the grain) and crosscutting (cutting across it). Rip blades have fewer, larger teeth. Crosscut blades have more, smaller teeth. A combination blade handles both adequately for most hobbyist work. For hardwoods like maple or walnut, a higher tooth count (60 to 80 teeth on a 10-inch blade) produces cleaner cuts.
Watch for burn marks on the cut surface, a need to push harder than usual to maintain feed rate, or visible missing or chipped carbide teeth. A blade that burns wood is either dull or has pitch buildup. Try cleaning first with blade cleaner, then replace if the problem persists.
For occasional projects, a shop vac connected to your tools manages dust adequately. For a shop used weekly or more, a dedicated dust collector (1.5 to 2 HP single-stage or two-stage) protects your respiratory health meaningfully over time. Fine wood dust, particularly from hardwoods, is classified as a carcinogen with prolonged exposure. The investment in dust collection is a health decision, not just a cleanliness preference.
Take a class or find structured instruction before using a table saw, miter saw, or router for the first time. Many community colleges, maker spaces, and woodworking clubs offer beginner sessions. Woodworking online training is also a practical option for learning technique before you apply it in the shop.
Yes. Many accomplished furniture makers work in a single-car garage. The keys are mobile tool bases (so machines can be repositioned for different cuts), a fold-down workbench, and a disciplined approach to lumber storage. A track saw instead of a table saw saves the most space without sacrificing the most capability.
Conclusion
Products, Tools, and Resources