
Furniture Building Plans: DIY Woodworking Projects for Every Room
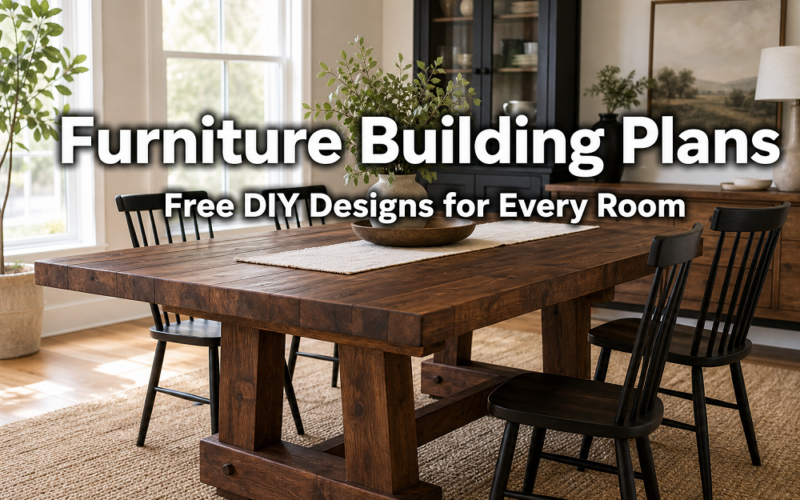
Hey there! Some links on this page may be affiliate links, which means that if you choose to make a purchase, I may earn a commission at no extra cost to you. I greatly appreciate your support! Building your own furniture is one of the most satisfying things a woodworker can do. You end up with a piece that fits your space, matches your taste, and was made by your own hands. This guide “Furniture Building Plans: DIY Woodworking Projects for Every Room” covers everything beginners and hobbyists need to know before picking up a board: which projects to start with, what tools you actually need, how long builds take, what wood to buy, and how to avoid the mistakes that ruin otherwise solid furniture.
The easiest beginner furniture projects are bookshelves, simple storage benches, and small side tables. These builds use basic joinery (screws, pocket holes, or simple dado cuts), require minimal tooling, and are forgiving if your measurements are slightly off.
Here is a practical starting order based on skill progression:
The logic here is simple: start where the wood cost is low and the failure consequence is minor. A shelf that sags is annoying. A dining table that wobbles after six months of use is an expensive lesson. Build the skills first, then scale up.
If you want a broader look at beginner-friendly builds beyond furniture, the woodworking projects guide covers a range of starter options organized by difficulty.
Building your own furniture is almost always cheaper than buying equivalent quality from a retail store, but the savings depend heavily on wood species, hardware choices, and whether you already own tools.
As a rough estimate (based on 2025 lumber pricing in the U.S.):
The caveat: these numbers assume you already own basic tools. If you’re buying tools alongside your first project, the cost advantage shrinks on that first build and grows with every subsequent one. Tool costs are a one-time investment; lumber costs repeat with every project.
One more honest note: the cost comparison changes if you’re comparing your DIY build to flat-pack furniture made from MDF or particleboard. In that case, the price gap narrows, but the quality gap widens significantly in favor of the handbuilt piece.
For most beginner furniture projects, you need far fewer tools than you might expect. A focused starter kit handles the majority of builds in the indoor furniture and storage categories.
Core hand tools:
Power tools for furniture building:
You do not need a table saw to start. Many beginner furniture builders work exclusively with a circular saw and a straight-edge guide for years before adding a table saw. The woodworking tools and equipment guide breaks down tool priorities by project type if you want a more detailed breakdown.
For jig-based approaches that simplify joinery without requiring advanced skills, the woodworking jigs overview is worth reading before you buy anything.
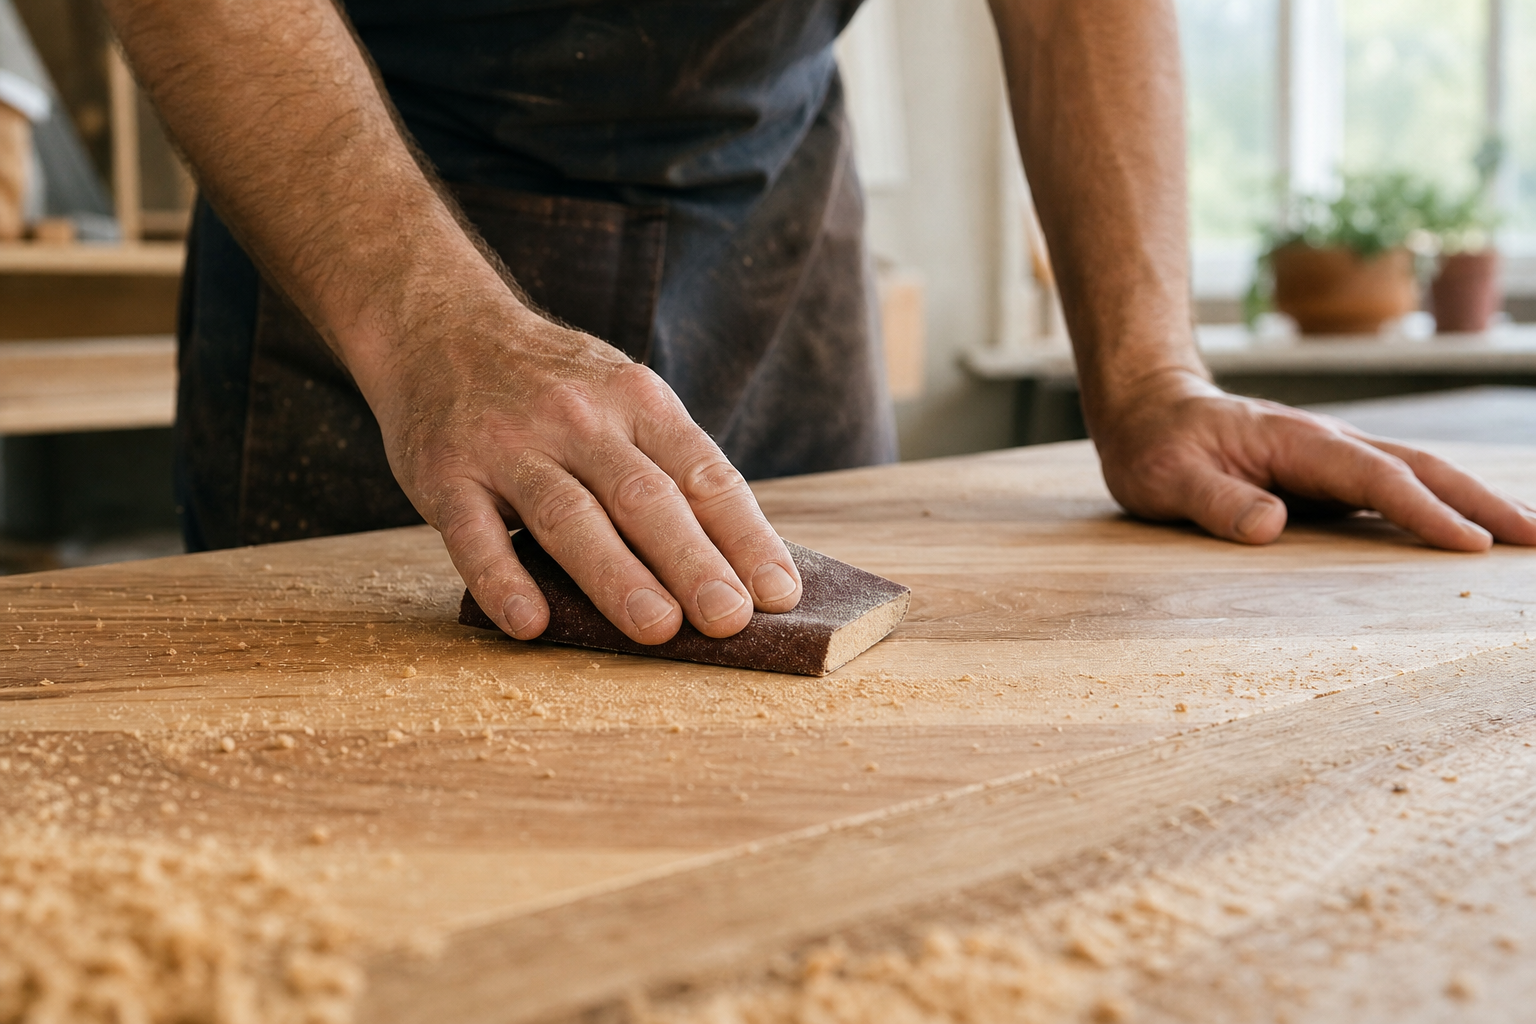
Yes. No prior woodworking experience is required to build functional, good-looking furniture, provided you start with the right project and follow a plan that includes a cut list, joinery detail, and finish guidance.
The most common trap for complete beginners is choosing a project that looks simple but involves compound angles or complex joinery (chairs are a classic example). Chairs are actually one of the hardest furniture pieces to build well because every joint is under dynamic stress from people sitting, leaning, and shifting weight. A bookshelf or bench is a much better first project.
What actually matters more than experience is patience with the measuring and marking stage. Most beginner failures come from cutting before double-checking measurements, not from a lack of skill. If you want structured guidance before starting your first build, woodworking online training resources can help you build foundational technique without needing to take an in-person class.
Most beginner and intermediate furniture projects can be completed without a dedicated workshop. A garage, a covered patio, or even a driveway works for dimensioning lumber, assembly, and finishing, as long as you account for a few practical realities.
What you actually need:
What gets harder without a workshop:
The honest answer is that a workshop makes things more convenient and more precise, but it is not a prerequisite for building real furniture. Many experienced woodworkers started on a driveway with a circular saw and a set of clamps.
For most beginner furniture projects, you need far fewer tools than you might expect. A focused starter kit handles the majority of builds in the indoor furniture and storage categories.
Core hand tools:
Power tools for furniture building:
You do not need a table saw to start. Many beginner furniture builders work exclusively with a circular saw and a straight-edge guide for years before adding a table saw. The woodworking tools and equipment guide breaks down tool priorities by project type if you want a more detailed breakdown.
For jig-based approaches that simplify joinery without requiring advanced skills, the woodworking jigs overview is worth reading before you buy anything.
Yes. No prior woodworking experience is required to build functional, good-looking furniture, provided you start with the right project and follow a plan that includes a cut list, joinery detail, and finish guidance.
The most common trap for complete beginners is choosing a project that looks simple but involves compound angles or complex joinery (chairs are a classic example). Chairs are actually one of the hardest furniture pieces to build well because every joint is under dynamic stress from people sitting, leaning, and shifting weight. A bookshelf or bench is a much better first project.
What actually matters more than experience is patience with the measuring and marking stage. Most beginner failures come from cutting before double-checking measurements, not from a lack of skill. If you want structured guidance before starting your first build, woodworking online training resources can help you build foundational technique without needing to take an in-person class.
Most beginner and intermediate furniture projects can be completed without a dedicated workshop. A garage, a covered patio, or even a driveway works for dimensioning lumber, assembly, and finishing, as long as you account for a few practical realities.
What you actually need:
What gets harder without a workshop:
The honest answer is that a workshop makes things more convenient and more precise, but it is not a prerequisite for building real furniture. Many experienced woodworkers started on a driveway with a circular saw and a set of clamps.
A simple coffee table takes most beginners 4 to 8 hours across one or two sessions. A dining table with an apron-and-leg assembly typically takes 10 to 20 hours for a first-time builder, spread over a weekend or two.
Here is a realistic time breakdown for a standard farmhouse dining table:
The waiting stages (glue cure, finish cure) are where most beginners underestimate total project time. The actual hands-on work is often less than a full day. The total calendar time, including drying and curing, is typically 3 to 5 days for a dining table.
For indoor furniture, oak, poplar, and pine are the most beginner-friendly choices. For outdoor furniture, cedar is the best starting point for most builders.
Indoor furniture wood options:
Outdoor furniture wood options:
For most hobbyist woodworkers, the practical answer is: a solid wood DIY piece built to a good plan will outlast most retail furniture by years, especially in categories like dining tables, bookshelves, and storage benches.
Most furniture failures trace back to one of five mistakes. Knowing them in advance saves a lot of frustration and wasted material.
1. Skipping wood acclimation. Lumber needs to acclimate to your home’s humidity level before you build with it. Skipping this step causes joints to open up and panels to warp after the piece is assembled. Two to seven days of acclimation in the room where the piece will live is standard practice.
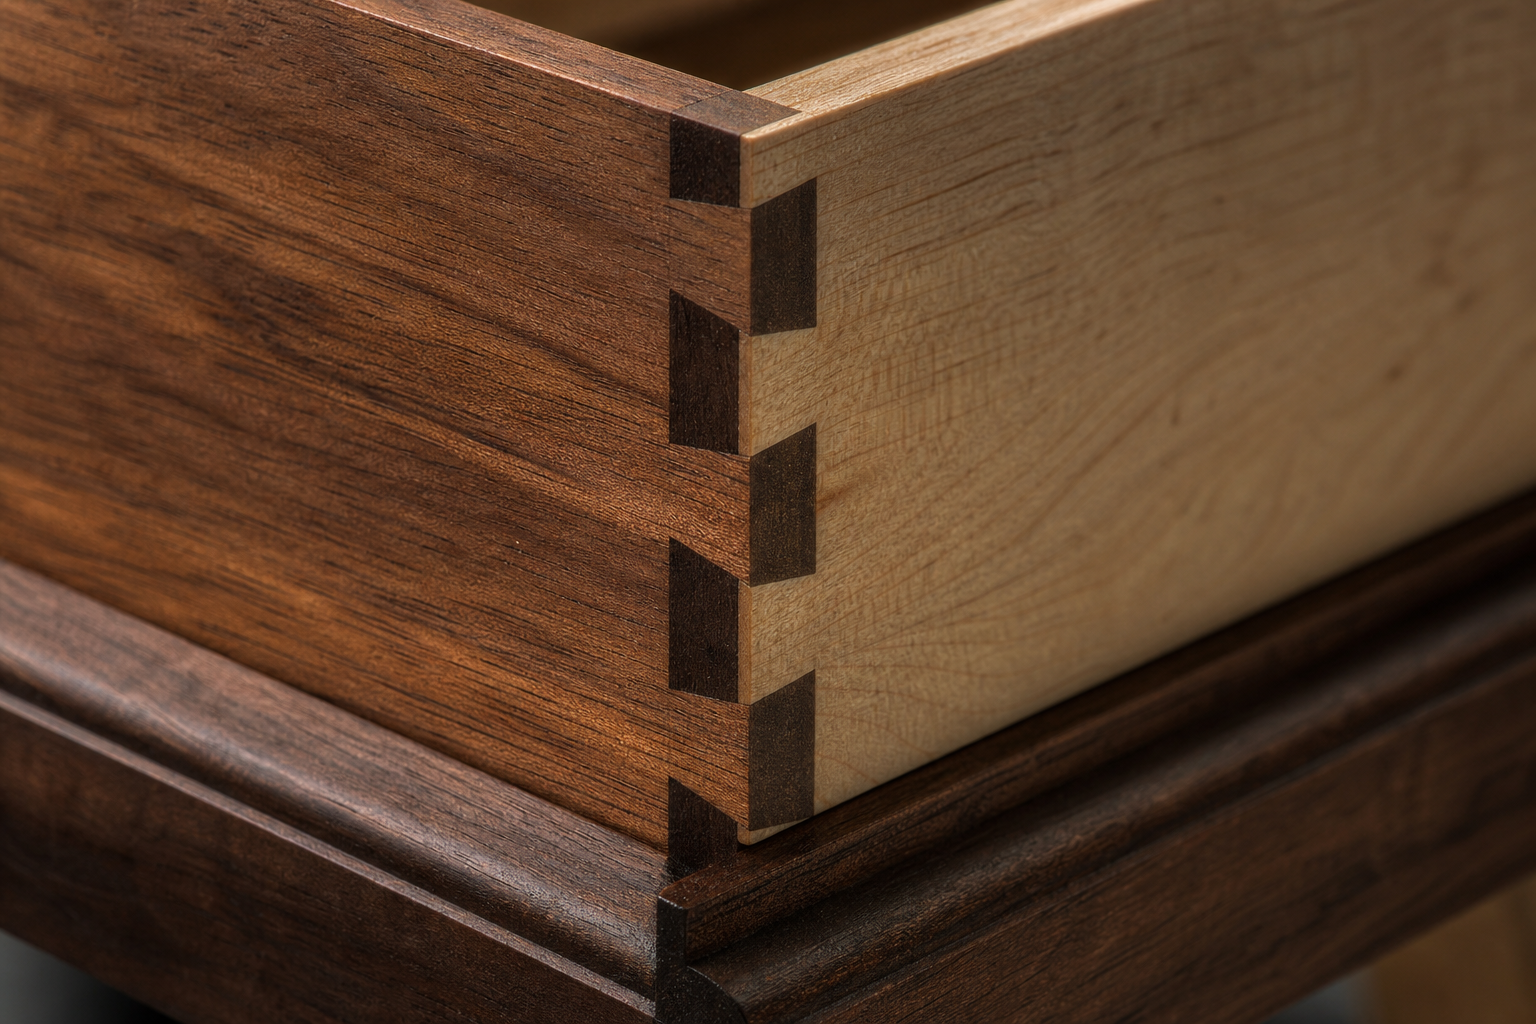
2. Choosing the wrong joinery for the load. Pocket screws are fast and useful, but they are not appropriate for every connection. A dining table apron joint that will have people leaning on it for years needs more mechanical strength than pocket screws alone provide. Match the joinery to the stress the joint will actually experience.
3. Underestimating finish prep. The finish only looks as good as the surface beneath it. Sanding to 150 grit and calling it done produces a mediocre result. Most furniture finishes benefit from sanding through at least 80, 120, and 150 (and 180 to 220 for fine furniture), with grain raising and light sanding between coats.
4. Buying hardware rated below the actual load. Drawer slides, shelf pins, and shelf brackets all have load ratings. A shelf rated for 20 pounds that holds 60 pounds of books will fail. Check the ratings and buy to the actual use case, not the minimum.
5. Rushing the glue cure. Removing clamps too early is one of the most common beginner mistakes. Most wood glues reach handling strength in 30 to 60 minutes but need 24 hours to reach full strength. Moving a glued assembly before it has cured properly weakens the joint permanently.
For a deeper look at joinery techniques and how to match them to specific builds, the woodworking technique and joinery guide covers the most common joint types with practical guidance.
Small-space furniture building is one of the fastest-growing areas of DIY woodworking, and for good reason. Custom dimensions are the single biggest advantage of building your own furniture, especially in apartments where standard retail sizes rarely fit awkward alcoves, low ceilings, or narrow hallways.
The most useful small-space builds include:
The planning principle for small-space furniture is to design around the actual dimensions of the space first, then design the piece. Measure the space three times before buying any lumber.
Finishing is where a good furniture build either comes together or falls apart visually. The right finish protects the wood and enhances its appearance. The wrong finish peels, yellows, or wears through in high-traffic areas.
Choosing a finish by use case:
Basic finishing process:
The most common finishing mistake is applying too much stain or topcoat in a single coat. Thin coats cure more evenly, adhere better, and produce a more professional result.
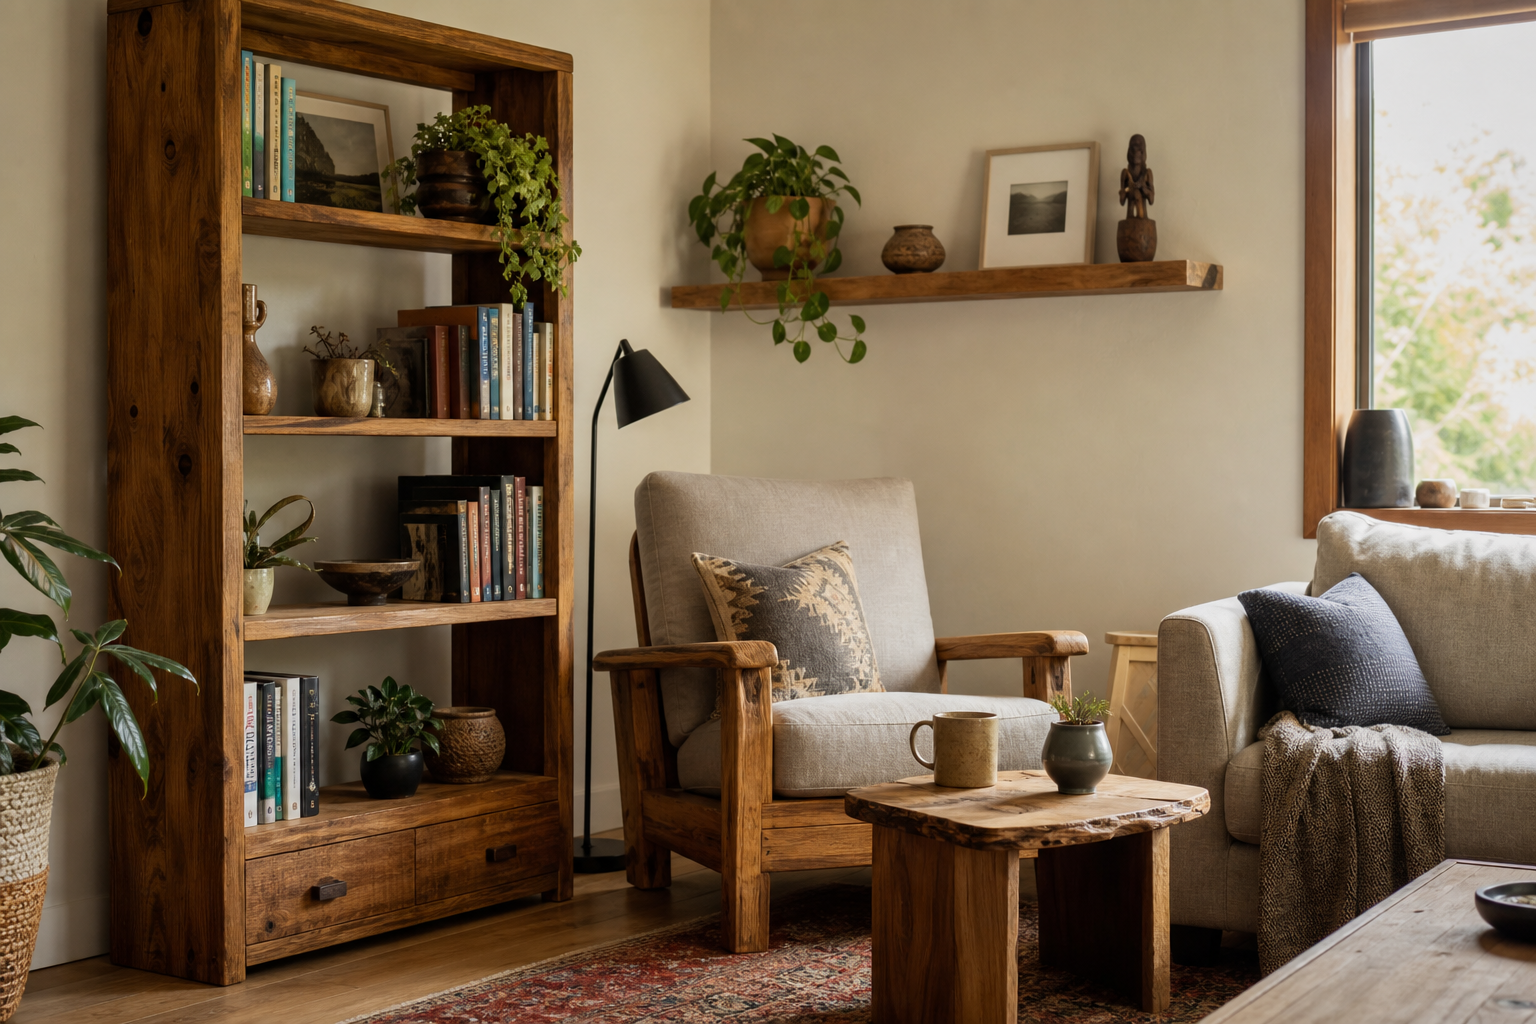
Indoor furniture is the largest and most practical category for beginner woodworkers. It covers the pieces most households actually need: dining tables, coffee tables, bookshelves, desks, and seating.
The farmhouse dining table is one of the most-built plans for good reason. It teaches apron-and-leg joinery in a format that transfers directly to console tables, desks, and benches. Once you’ve built one dining table, you understand the structural logic behind almost every table design.
Floating shelves are the other perennial favorite. The failure mode (a shelf that sags or pulls from the wall) is visible and embarrassing, but entirely preventable once you understand bracket sizing and proper wall-anchor selection. A floating shelf that fails usually fails because the builder used drywall anchors instead of hitting studs, or chose brackets rated for less weight than the shelf would actually hold.
If you’re newer to furniture building, start with a bookshelf or a simple bench before attempting a dining table. The skills transfer directly, but the wood cost and the stakes are lower while you’re still calibrating your cuts and learning how your tools behave.
For a curated list of popular woodworking plans organized by project type, that resource is a good companion to this guide.
Outdoor furniture faces a challenge indoor pieces never encounter: seasonal wood movement driven by humidity changes. Wood expands and contracts significantly more outdoors, which means joinery has to allow for that movement, hardware has to resist rust, and the wood species itself has to be either naturally rot-resistant or properly sealed.
The Adirondack chair is the most-built outdoor project for beginners because it teaches curved-cut and angled joinery in a forgiving format. If a cut is slightly off, the chair still functions and still looks good. It’s a confidence-building project that introduces skills (angled joinery, exterior finishing) that apply to more complex outdoor builds.
Key principles for outdoor furniture:
Storage furniture, including bookshelves, closet organizers, entryway benches, and toy chests, is defined more by function and weight-bearing capacity than by aesthetics. The most common failure in this category is not joinery. It is hardware: drawer slides and shelf supports rated for less weight than they will actually carry.
Every storage plan on this site specifies hardware load ratings for this reason. A shelf that holds a family’s book collection needs supports rated for real weight, not the minimum the manufacturer lists. Check the ratings before you buy, and buy hardware that exceeds your estimated load by a comfortable margin.
Closet organizers and built-in storage pieces also benefit from being designed around the actual contents. Measure the items that will be stored (folded clothes, shoes, books, bins) before designing shelf spacing. Standard shelf spacing of 12 inches works for most books and folded clothes, but deeper items like board games or large bins need 16 to 18 inches of vertical clearance.
Kids’ furniture carries the highest safety bar of any category in this guide. Cribs, toddler beds, and bunk beds must meet specific structural and spacing standards that go well beyond general furniture-building best practice.
The key standards to know before building any sleep surface for a child:
Be honest with yourself about your skill level before attempting a crib or bunk bed. These are not projects for a first-time woodworker. A confident intermediate builder with solid joinery skills and access to accurate measuring tools can build safe kids’ furniture. A beginner should start with a toy chest or a small bookshelf for a child’s room and build up from there.
Good free furniture plans are widely available, but quality varies significantly. The best free plans include a full cut list, dimensioned drawings, joinery details, and finish recommendations. Plans that only include a photo and a rough parts list are not complete plans.
Where to find quality free plans:
Where to buy quality lumber:
When buying lumber for furniture, always inspect for straightness, twist, and moisture content. A moisture meter is a worthwhile investment (typically $20 to $50) that prevents the most common cause of post-build warping and joint failure.
What is the best first furniture project for a complete beginner? How much does it cost to build a dining table from scratch? Do I need a table saw to build furniture? What wood should I avoid as a beginner? Is pocket hole joinery strong enough for furniture? How do I prevent a wooden tabletop from warping? What finish is safe for a baby’s crib? Can I stain pine furniture without it looking blotchy? How do I know if a furniture plan is safe for kids’ furniture? What is the difference between a cut list and a bill of materials? Building your own furniture is one of the most practical skills a woodworker can develop. The pieces you build will outlast most of what you can buy at retail, fit your space exactly, and carry the kind of satisfaction that comes from using something you made yourself every single day.
Start simple. A bookshelf or a bench teaches you more about furniture construction than any amount of reading, and the skills compound quickly. Once you understand how a box goes together, how a joint handles stress, and how a finish behaves on different wood species, every subsequent project gets faster and more confident.
The three decisions that determine whether a piece survives daily use are always the same: the right wood for the environment, the right joinery for the load, and the right finish for the use case. Get those three right, and the design details take care of themselves.
These are tools and resources worth having before your first furniture build, based on what actually gets used on beginner and intermediate projects.
Pocket hole jig (Kreg Jig K4 or K5): The single most useful joinery shortcut for beginner furniture builders. Speeds up assembly significantly and produces strong, clean joints for most furniture applications. The K4 handles the majority of furniture projects; the K5 adds a larger clamping capacity for wider stock.
Random orbital sander (Bosch ROS20VSC or DeWalt DWE6421K): Sanding by hand is slow and produces uneven results on large surfaces. A 5-inch random orbital sander is one of the first power tool upgrades worth making. Both models listed are reliable, widely available, and priced reasonably for beginners.
Moisture meter (General Tools MMD4E or similar): A $20 to $30 investment that prevents the most common cause of post-build warping. Check lumber moisture content before buying and again before building. Target 6 to 8 percent moisture content for indoor furniture in most North American climates.
Minwax Pre-Stain Wood Conditioner: Essential for staining pine, alder, or soft maple without blotching. Apply before any penetrating stain and follow the manufacturer’s timing instructions.
General Finishes Arm-R-Seal (oil-based topcoat): One of the most consistently recommended topcoats among furniture builders for tabletops and high-use surfaces. Durable, self-leveling, and available in satin, semi-gloss, and gloss sheens.
Woodworking online training: If you want structured skill-building before starting your first project, woodworking online training resources offer a practical alternative to in-person classes, with courses organized by skill level and project type.
Beginner tools setup guide: Before buying any tools, the beginner tools setup guide walks through exactly what to buy first, what to skip, and how to prioritize a starter kit on a realistic budget.
Key Takeaways

What Are the Easiest DIY Furniture Projects for Beginners?
How Much Does It Cost to Build Your Own Furniture vs. Buying?
What Tools Do I Need to Start Building Furniture?
Can I Build Furniture If I Have No Woodworking Experience?
Can You Make DIY Furniture Without a Workshop?
Can I Build Furniture If I Have No Woodworking Experience?
Can You Make DIY Furniture Without a Workshop?
How Long Does It Take to Build a DIY Wooden Table?
Best Wood Types for Beginner Furniture Projects
Is DIY Furniture Stronger Than Store-Bought?
Common Mistakes People Make When Building Their Own Furniture
DIY Furniture Plans for Small Spaces and Apartments
How to Finish and Stain Homemade Wooden Furniture
Indoor Furniture: Tables, Chairs, and Shelves
Outdoor Furniture: Patio and Garden Builds
Storage and Organization Furniture
Kids and Nursery Furniture
Best Free Furniture Building Plans Online and Where to Buy Quality Wood
Frequently Asked Questions
A simple storage bench or a wall-mounted bookshelf. Both use basic joinery, require minimal tooling, and teach skills that transfer directly to more complex furniture builds. The wood cost is low enough that mistakes are affordable.
Material costs for a solid wood dining table typically run $150 to $400 depending on wood species and size. Oak and maple cost more than pine or poplar. This estimate assumes you already own basic tools.
No. A circular saw with a straight-edge guide handles most furniture cuts accurately enough for beginner and intermediate projects. A table saw adds precision and speed but is not a prerequisite for building real furniture.
Avoid exotic or highly figured hardwoods (like highly figured maple or burled walnut) until you have solid technique. They’re expensive, less forgiving of mistakes, and sometimes require specialized finishing knowledge. Also avoid green or unseasoned lumber, which will warp and crack as it dries.
For most furniture applications, yes. Pocket hole joinery (using a Kreg jig or similar) is strong enough for bookshelves, benches, cabinets, and coffee tables. For high-stress connections like dining table aprons that will take years of daily lateral force, reinforcing pocket screws with wood glue and adding corner blocks improves long-term durability.
Use properly dried, acclimated lumber. Allow the wood to sit in your home for several days before building. Use breadboard ends or figure-eight fasteners that allow the top to expand and contract with seasonal humidity changes. Avoid gluing a solid wood top rigidly to an apron, which restricts movement and causes the top to crack or warp over time.
Use a water-based finish that has fully cured before the crib is used. Look for finishes that meet ASTM F963 or EN 71-3 toy safety standards. Full cure time (not just dry time) is critical: most water-based finishes are safe after 30 days of full cure at room temperature. When in doubt, contact the finish manufacturer directly.
Yes, with proper prep. Pine absorbs stain unevenly because of its alternating soft and hard grain. Apply a pre-stain wood conditioner before staining, and work quickly to wipe off excess stain within the manufacturer’s recommended time. A gel stain is another option that produces more even color on pine than liquid stains.
A safe kids’ furniture plan will reference specific safety standards (CPSC, ASTM F963, or equivalent) and include explicit guidance on slat spacing, guard rail dimensions, and finish selection. If a plan does not address these elements, it is not a complete kids’ furniture plan.
A cut list specifies the final dimensions of every part in the build (length, width, thickness, and quantity). A bill of materials lists the raw lumber you need to purchase to produce those parts. Good furniture plans include both, because the cut list tells you what to cut and the bill of materials tells you what to buy.
Conclusion
Tools, Products, and Resources